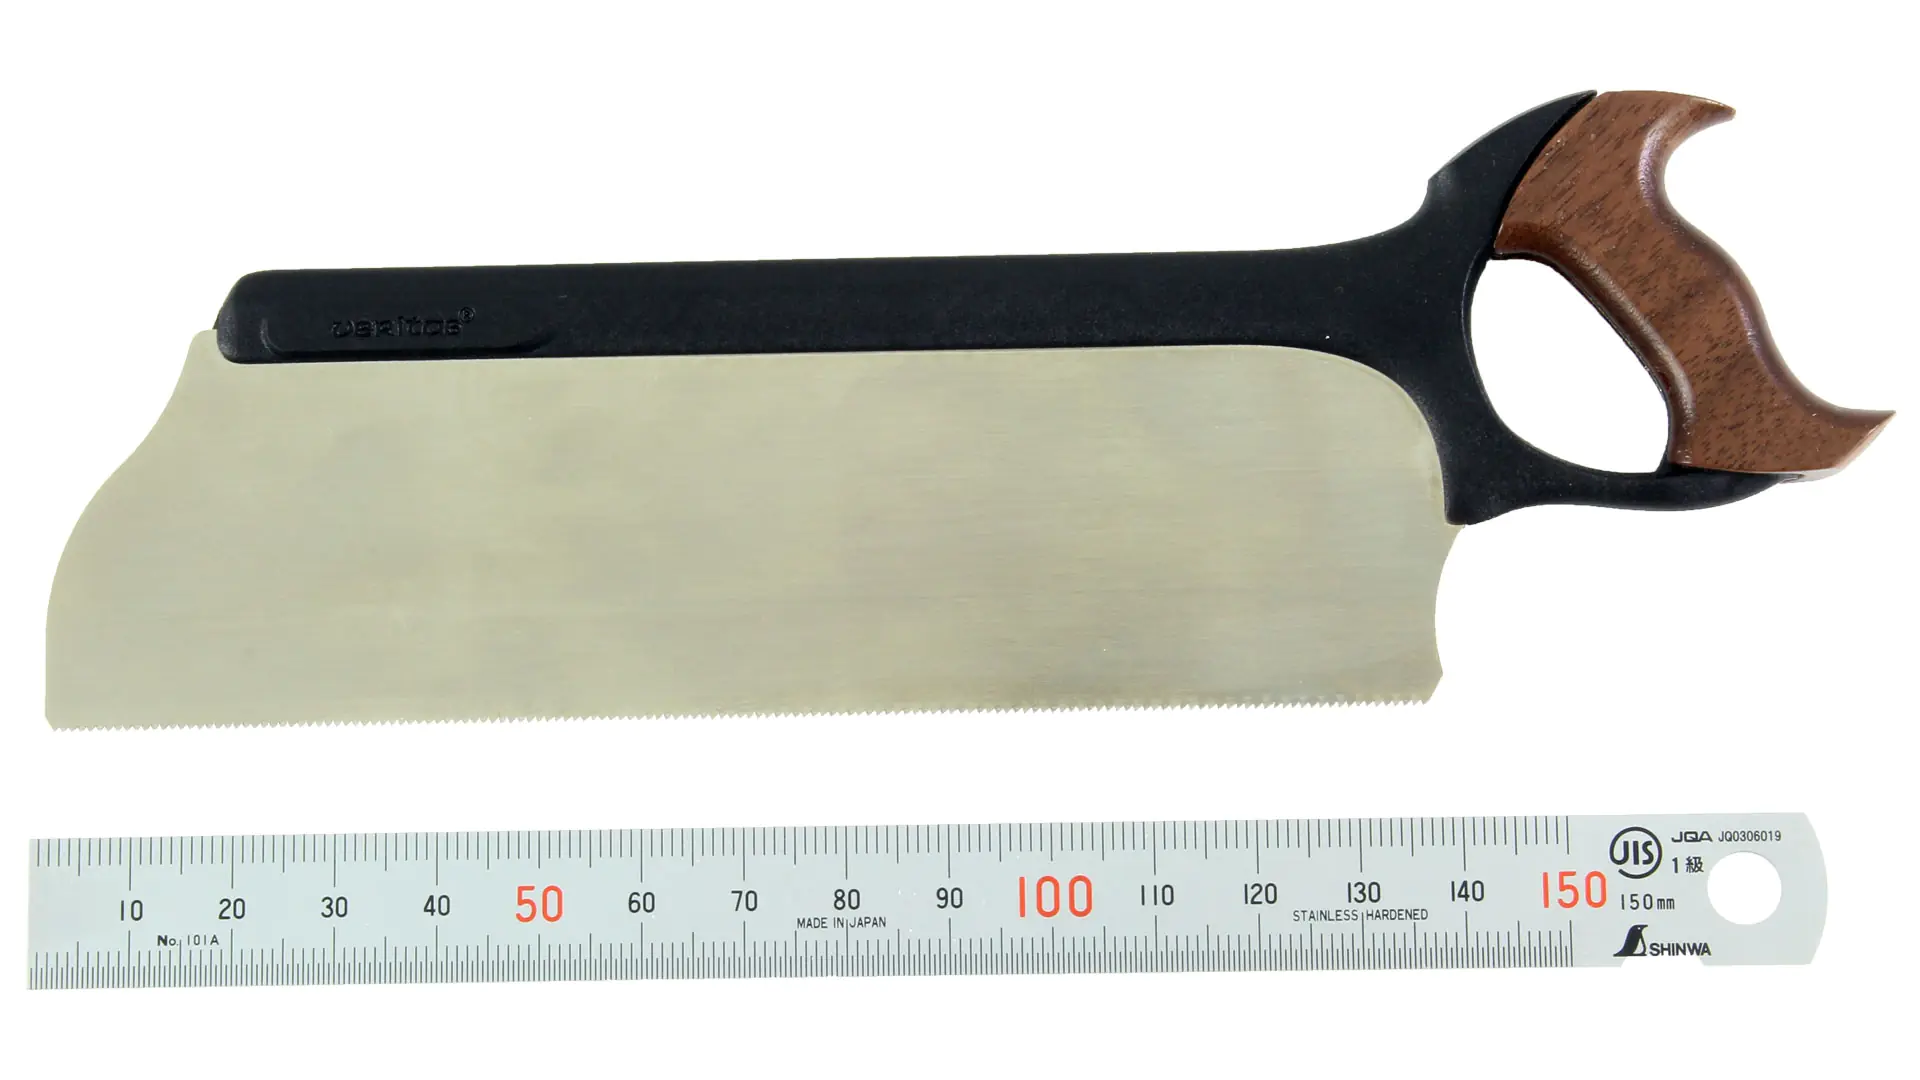
Sharpening and setting of saw blades
Why sharpen?
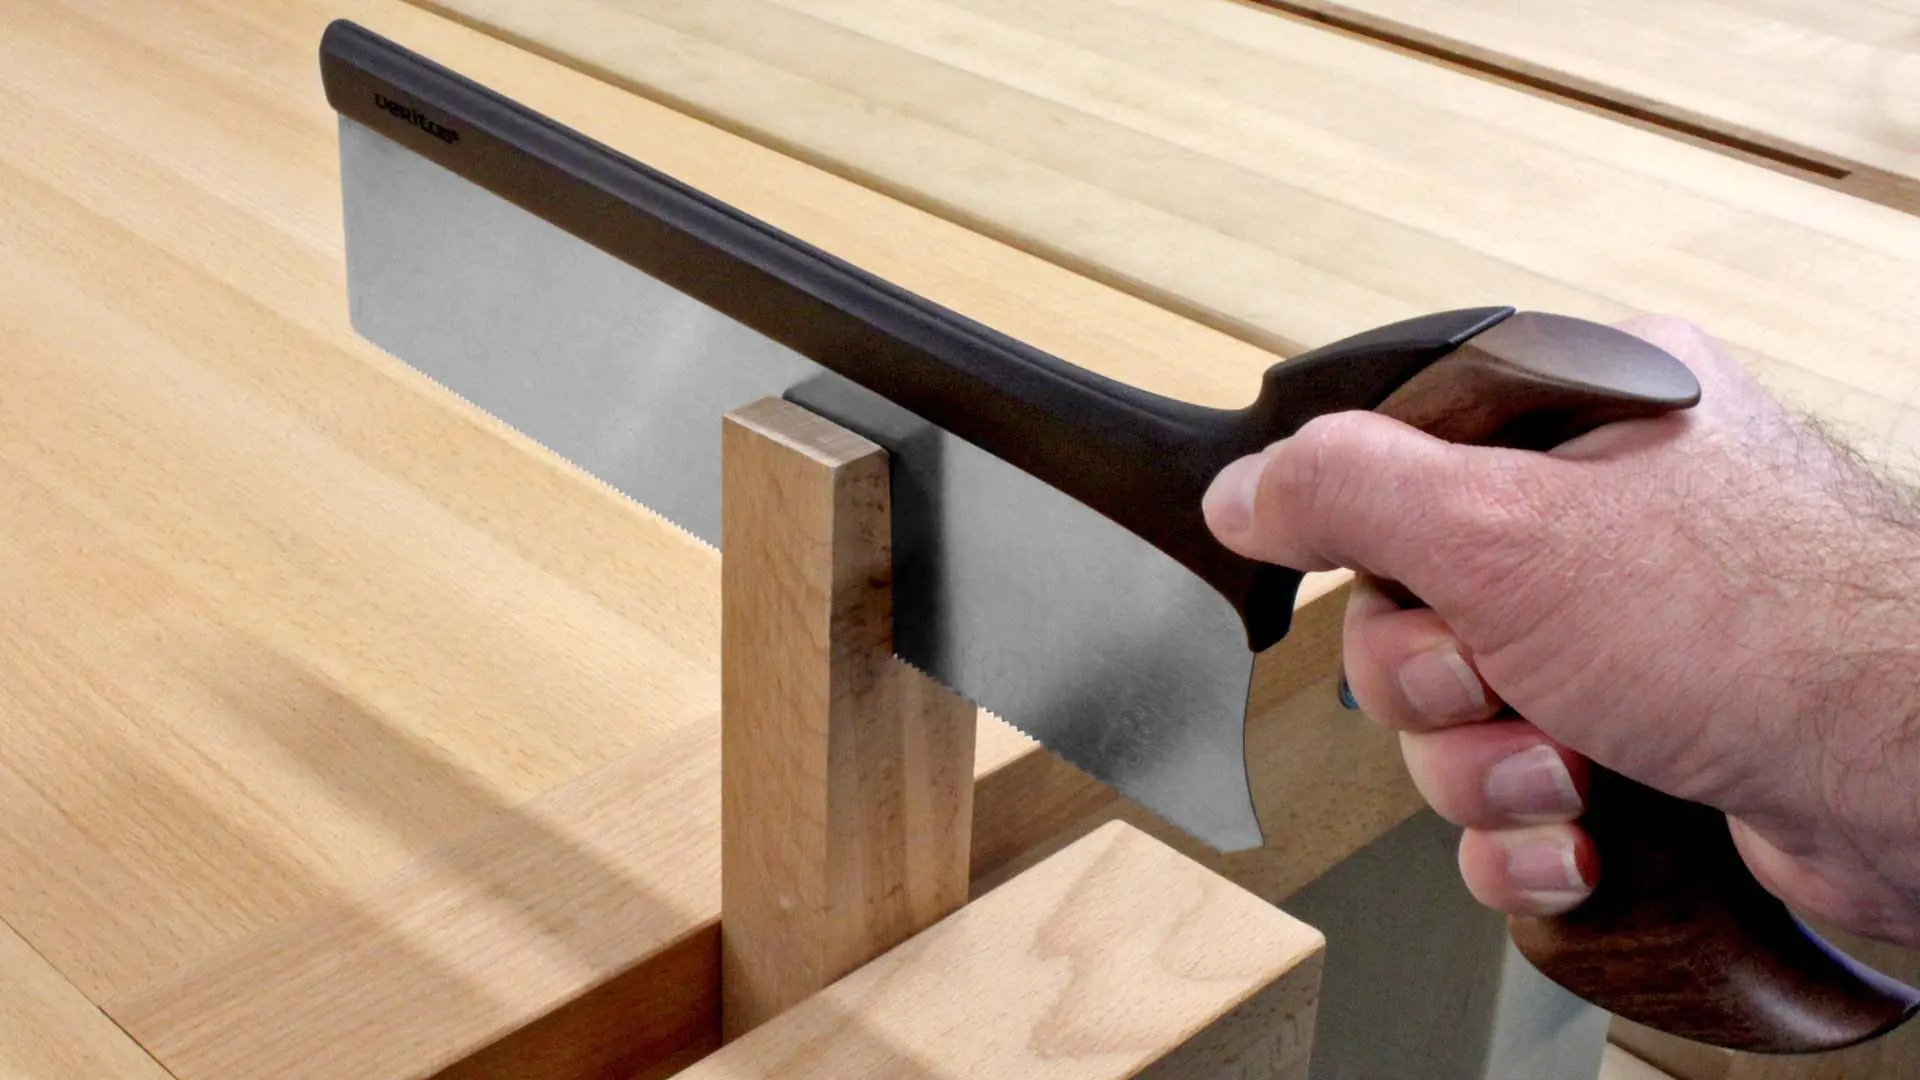
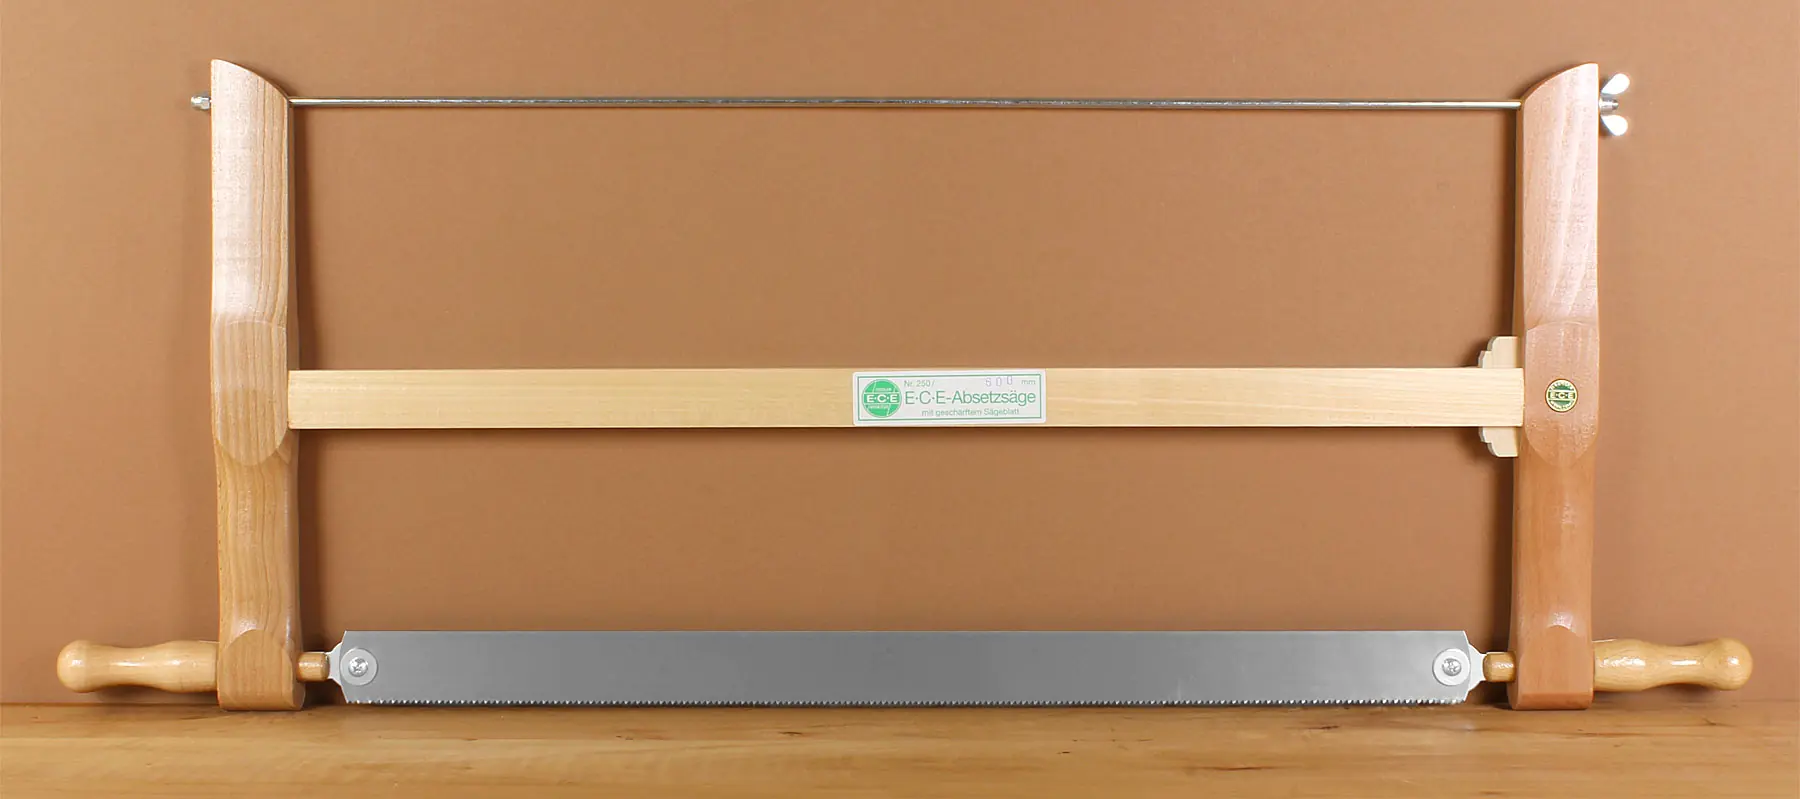
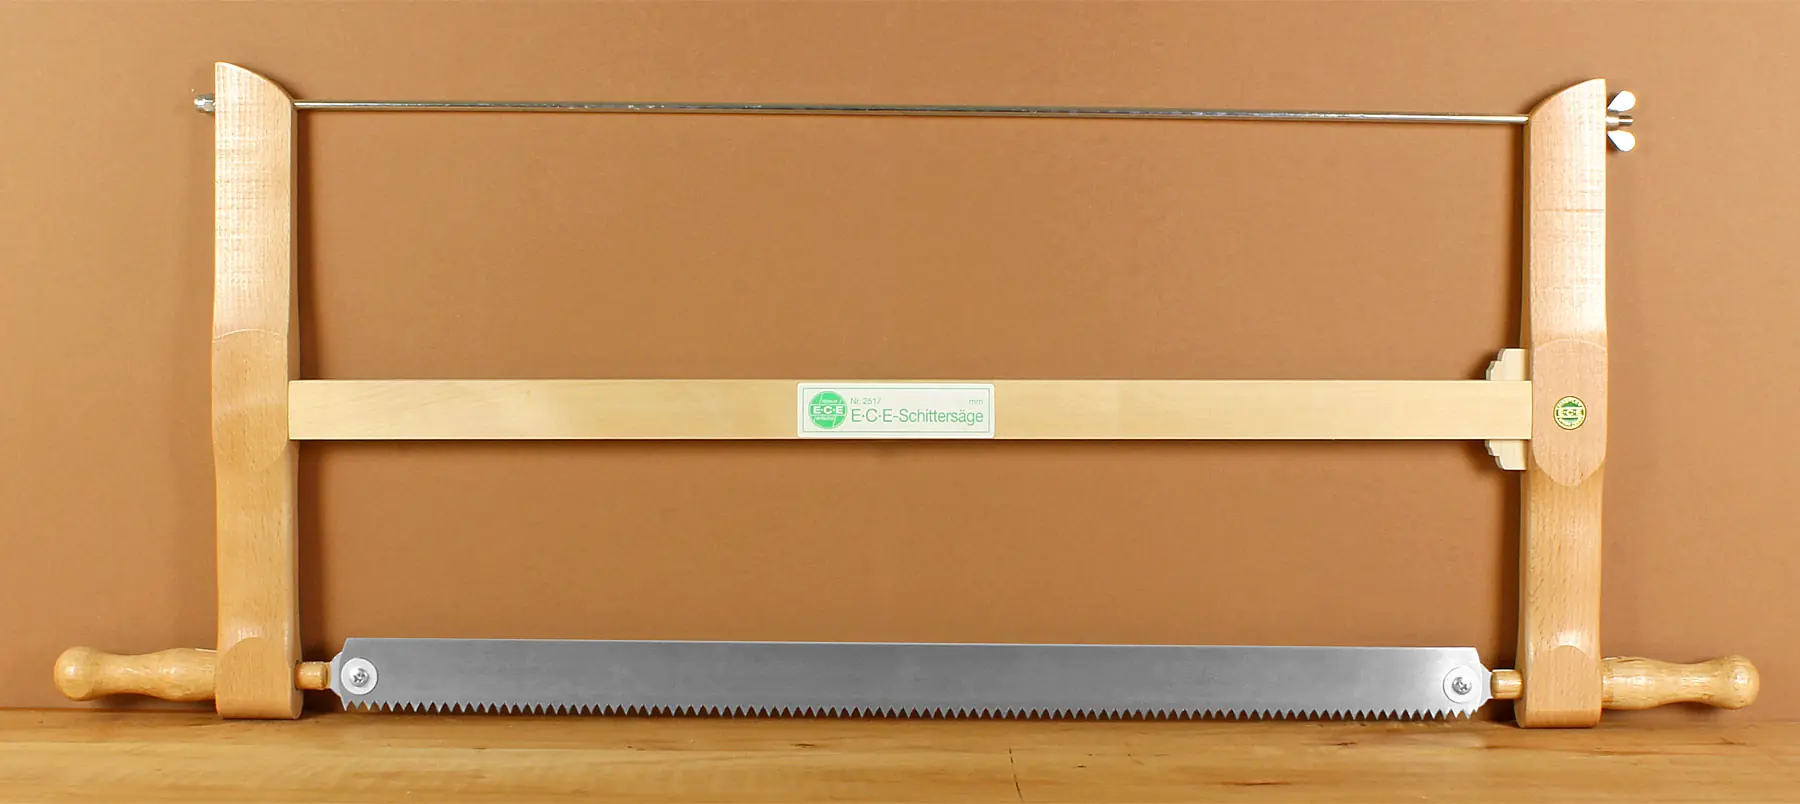
Even though sharpening saw blades is rarely practiced today and only by a few, the question of how it is done still arises. Like much of the craft knowledge, saw sharpening is increasingly forgotten. Fortunately, there is a counter-trend - recently, there has been more interest in this topic again. Being able to sharpen one's most important hand saw and knowing that one does not have to rely on spare parts while on the go is a real gain in competence and self-confidence for every woodworker. It is no coincidence that in the past, great value was placed on the design and quality of tools like the panel saw - as it was a long-term companion of the carpenter. In contrast, the constructions made of plastic handles and Teflon-coated hardened saw blades are quite poor, as they do not allow for any relationship with the tool, since they must be discarded when they become dull.
Which saws can be sharpened?
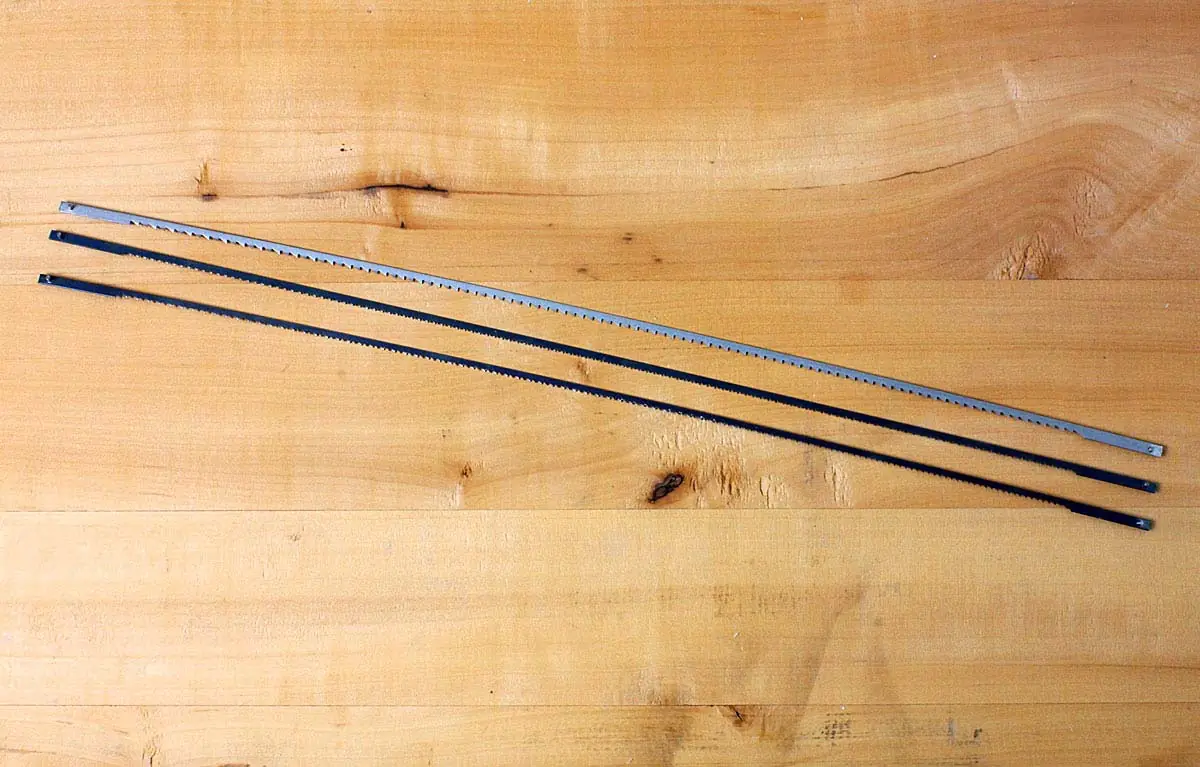
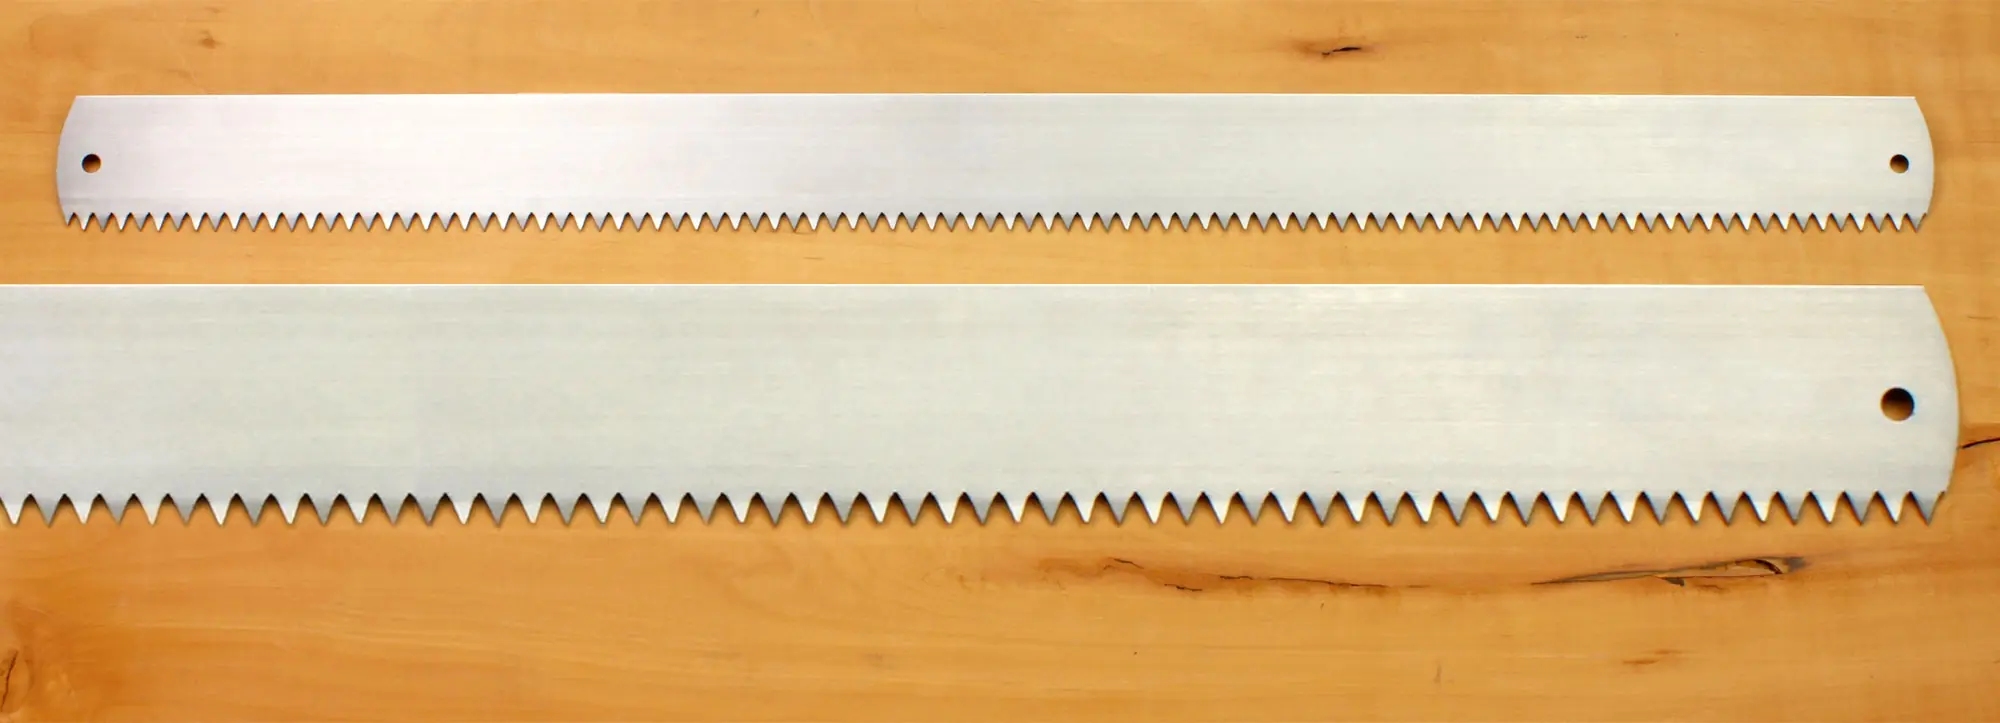
In principle, all hand saws with non-specifically hardened teeth can be sharpened. Saws with hardened teeth - the majority of all saws sold today - are generally considered unsharpenable. Hardened teeth are as hard as saw files, which can no longer grip unless diamond files are used. Some manufacturers only harden the tips of the teeth, which has the advantage that the teeth do not break as quickly, but the disadvantage that after the top layer is worn away, one reaches the soft area.
What tools are needed?
Only a few tools are required: a flat file, a file holder or alternatively two strips with clamps, a saw file, and a set of bending pliers.
How many steps are needed?
1. Planing
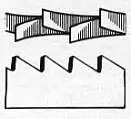
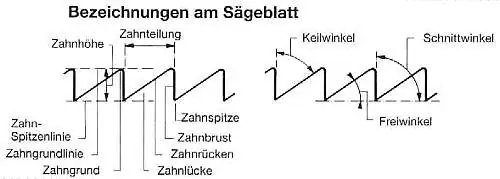
2. Tooth shaping

3. Cabinets

4. Sharpening
Under "setting" refers to the mutual bending of the teeth. This makes the saw cut wider than the saw blade, preventing binding. The setting must be absolutely uniform on both sides; otherwise, the saw will run in the direction of the most set side. You achieve this uniformity by using a setting tool - found among the tools for sharpening saws. To avoid tooth breakage, a tooth that has been set to the left must never be set to the right, nor a tooth that has been set to the right to the left.
The setting width should be about 1.5 to 1.7 times the blade width; good hand saws, for example, are already set by the manufacturer to only 1.4 to 1.6 times the blade thickness. If you set more than double the blade width, the wood in the middle of the saw cut will no longer be touched by the edges, and the saw will run poorly. Dry wood requires less setting, wet wood more.
The setting depth is also important. In no case should it exceed half the tooth height; rather, a third is recommended. If set too deep, cracks can form at the base of the teeth, and the saw blade will become dented. With the setting tool, you achieve a flawless setting. Set every second tooth to the end of the blade, then turn the blade around and set the other half of the teeth in the opposite direction in the same way.
Related products
Available, delivery time: 1-3 businessdays within Germany
Available, delivery time: 1-3 businessdays within Germany
Available, delivery time: 1-3 businessdays within Germany
Available, delivery time: 1-3 businessdays within Germany
Available, delivery time: 1-3 businessdays within Germany
Available, delivery time: 1-3 businessdays within Germany
Available, delivery time: 1-3 businessdays within Germany
Available, delivery time: 1-3 businessdays within Germany
Available, delivery time: 1-3 businessdays within Germany
Available, delivery time: 1-3 businessdays within Germany
Available in 27 days, delivery time 1-3 businessdays within Germany
Available, delivery time: 1-3 businessdays within Germany
Available, delivery time: 1-3 businessdays within Germany
Available, delivery time: 1-3 businessdays within Germany
Available, delivery time: 1-3 businessdays within Germany
Available, delivery time: 1-3 businessdays within Germany
Available, delivery time: 1-3 businessdays within Germany
Available, delivery time: 1-3 businessdays within Germany
Available, delivery time: 1-3 businessdays within Germany
Available, delivery time: 1-3 businessdays within Germany
Available, delivery time: 1-3 businessdays within Germany
Available, delivery time: 1-3 businessdays within Germany
Available, delivery time: 1-3 businessdays within Germany
Available, delivery time: 1-3 businessdays within Germany
Available, delivery time: 1-3 businessdays within Germany

