March 4, 2025
Instructions - how to use our Tools
Instruction manual for MIYANAGA S-Lock carbide hole saws
Application
This hole saw is suitable for wood, plywood, particle board, MDF, polyvinyl pipe, fiberglass reinforced plastic, artificial marble, metal sheets, including stainless steel up to 1.6 mm. Nails embedded in wood can be cut without any problems!
General Notes
Usage
This hole saw is suitable for wood, plywood, particle board, MDF, polyvinyl pipe, fiberglass reinforced plastic, artificial marble, metal sheets, including stainless steel up to 1.6 mm. Nails embedded in wood can be cut without any problems!
General Notes
- These hole saws can be operated freehand with a drill using a pilot drill, up to a diameter of 38 mm also with a cordless screwdriver (min. 12 V). High torque can generate significant forces. Therefore, ensure a secure stance.
- Wear eye protection to prevent flying splinters or chips from hitting your eyes.
- Note that shortly after drilling, both the workpiece, splinters, and the drill bit can be very hot and may burn your hand upon contact.
- Never use the drill in hammer mode, only in rotation mode.
- Do not turn off the drill while drilling. The drill bit may get stuck.
- Unplug the power cord for tool changes.
| Recommended RPM for S-Lock DL Hole Saws | |
|---|---|
| Drill Size | min-1 |
| 20 - 45 mm | 800 - 1500 |
| 50 - 65 | 700 - 1100 |
Usage
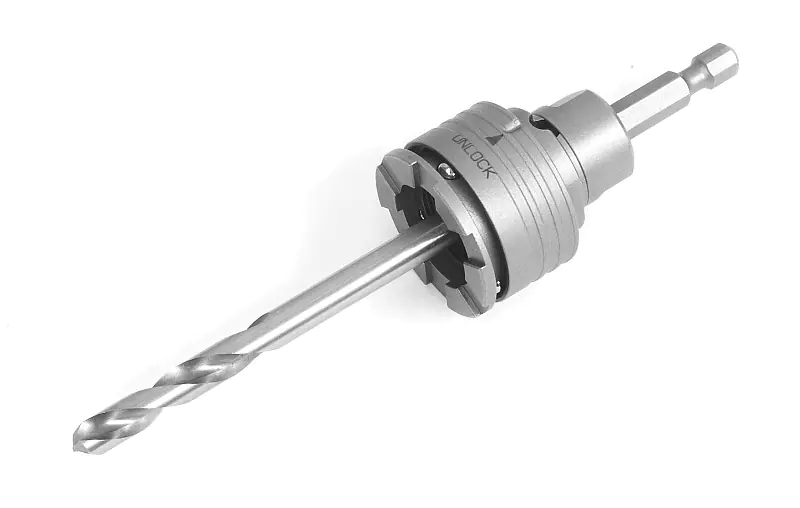
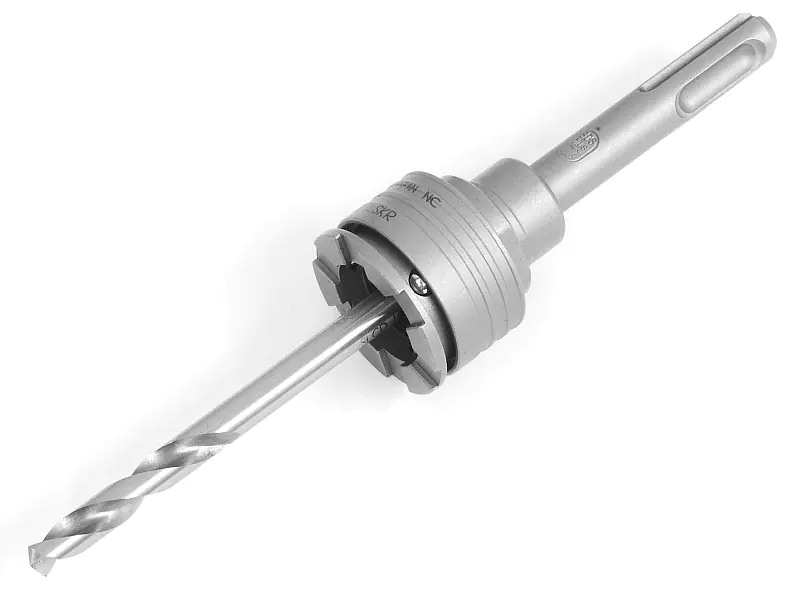
- Insert the adapter into the drill chuck of the drill.
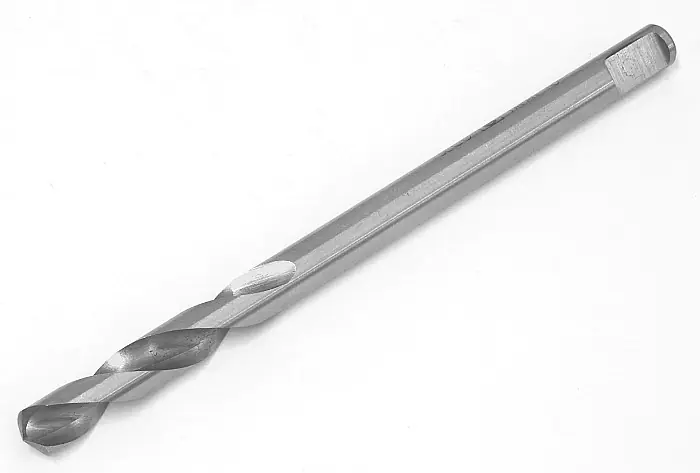
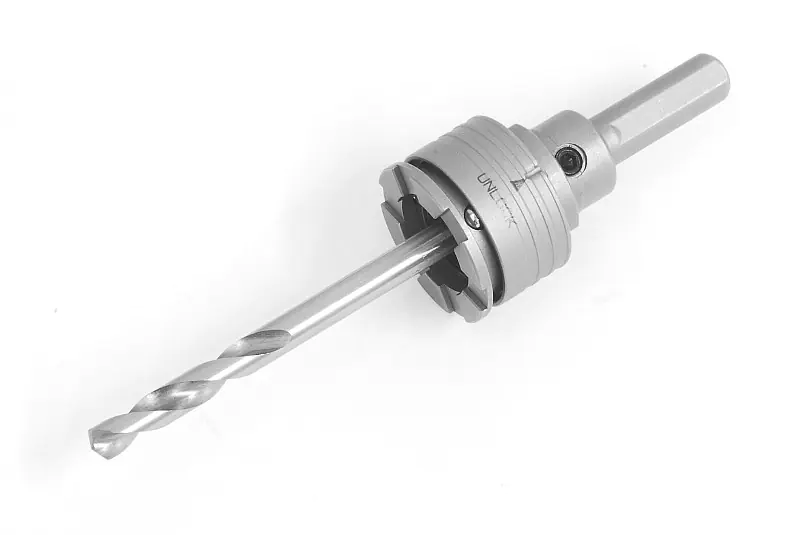
- Now insert the pilot drill into the adapter and tighten the hex screw (details see below).
- Now mount the hole saw body (details see below).
- Initially drill slowly and with little pressure until the hole saw stabilizes itself by immersing into the material. The hole saw should not plunge abruptly into the material after pilot drilling!
- Control the pressure so that the speed of the drill does not drop significantly.
- When the hole is finished, pull the hole saw back while it is still rotating. Do not change the direction of rotation!
- If the core gets stuck, remove the hole saw from the shank. You will now have access from the side opposite the teeth and can eject the core with the included ejector towards the teeth.
Inserting the pre-drill into the holder
The planes feature an adjustment mechanism in Norris design. This allows you to set the blade both in and tilt it sideways. Two stop screws guide the blade laterally in the mouth.

Attaching the hole saw body to the holder
(1) Insert the drill bit into the holder and tighten the hex screw. Allen key 3 mm not included!
Separation of the hole saw body from the holder
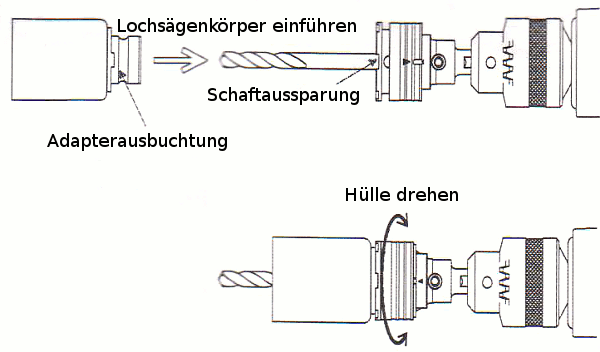
Press the hole saw body with the adapter recess into the shank cutout until it clicks into place. The marking on the casing is now aligned with the marking on the shank. Now rotate the casing so that the two markings are apart. This ensures that the hole saw body does not accidentally come loose.
Ejecting the drill core
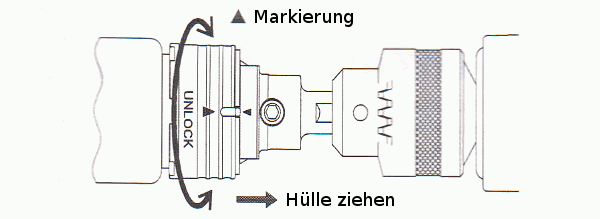
Align the two markings again by rotating the casing. Now pull the casing towards the drill - the hole saw body will pop out.


