February 14, 2025
Instructions - how to use our Tools
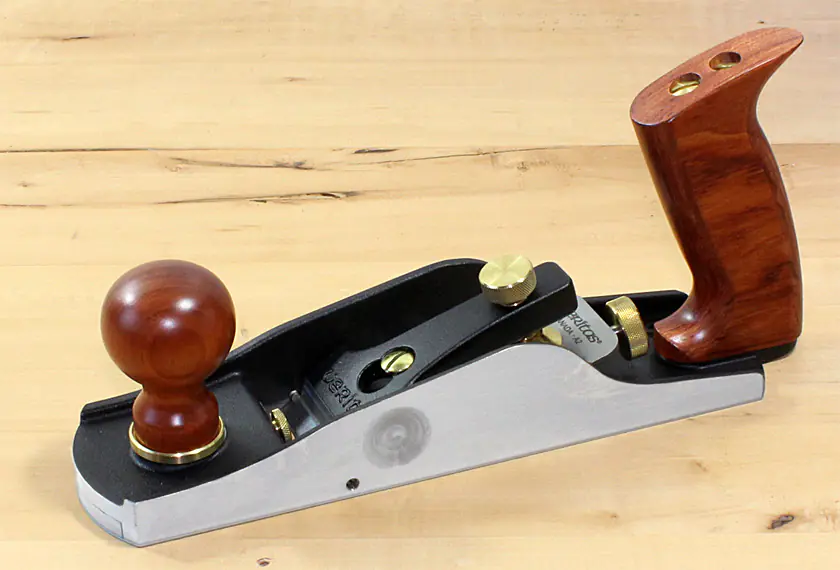
Veritas Flat Angle Smoothing Plane
The flat angle smoothing plane is primarily used in three areas. It is used for smoothing large surfaces, where it is mainly guided diagonally. Due to its large side cheeks, it is ideal for trimming miters at the shooting board. And thirdly, it is excellent for processing end grain. The low angle of 37° (cutting bevel 25° + blade bed 12°) minimizes fiber tear-out. Due to the very flat blade bed, the blade must be inserted with the bevel facing up, which also means that it does not have a chip breaker.
To set the blade for the first time, fully open the mouth of the plane and place the plane on a flat surface, preferably a piece of softwood. To secure the blade, lightly tighten the knurled screw of the flap and adjust the blade forward by turning the knurled screw behind the blade just until it touches the wood.
Now take the plane in your hand and turn it so that the sole is facing up. Now align your eye along the sole of the plane. You will immediately see whether the cutting edge is parallel to the sole or not, and you can correct it by sliding the rear knurled screw back and forth if necessary. Now tighten the knurled screw of the flap. A quarter turn should be sufficient. Please do not overtighten! Make a test cut!
If the shavings come out as they should, turn the screws on both side cheeks towards the blade - not to clamp the blade sideways, but rather to create a guide so that you no longer have to worry about the blade possibly drifting. The side adjustment is now only made by moving the rear knurled screw.

Mouth adjustment stop-screw = Mouth width limiting screw Adjust mouth … = Adjust the mouth width by loosening the knob and sliding it forward or backward.
For fine shavings, set the plane mouth very tight. Simply loosen the front knob, set the desired distance to the blade, and tighten it again. With the small knurled screw, you limit the travel of the front piece to ensure that it does not come into contact with the blade.
The plane bed of 12° and the bevel of 25° result in a cutting angle of this plane of 37°. This cutting angle is ideal for processing end grain. End grain processing with hand planes differs significantly from processing along the wood grain; it requires considerably more pressure and control.
In fact, end grain planing requires at least three times as much force as planing along the wood grain. Four things make end grain planing easier for you.
In fact, end grain planing requires at least three times as much force as planing along the wood grain. Four things make end grain planing easier for you.
First: keep the blade as sharp as possible! Second: adjust the iron so that the shavings are paper-thin! Third: keep the bevel angle of the iron as low as possible and only increase it if there are chip-outs, even minimal ones! You can recognize this by scratches on the planed end grain. Fourth: guide the plane at an angle to the direction of movement! This way, the blade does not abruptly plunge into the wood with its full width. It acts like a soft start!
The angled position has another effect: it has the same effect as if you were to reduce the bevel angle of the iron. So if you have a cutting angle of 37° and you hold the plane at 45° to the cutting direction, it has the same effect as if you had a cutting angle of 28°. However, there are no chip-outs, which would occur with a frontally guided plane with a cutting angle of 28°. In the angled position, the resistance of the wood is distributed over a larger cutting width. This insight leads to the practical result that you can sharpen your plane irons to a smaller bevel angle when you guide the plane at an angle rather than frontally.
Planing end grain requires a lot of force. Therefore, the workpiece must be well secured. If possible, clamp the workpiece upright in a vise of the planing bench, low enough so that you can work on it safely and comfortably. A small scrap wood clamped to the edge where the blade exits the wood prevents tear-out.