January 29, 2025
Instructions - how to use our Tools
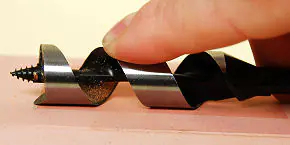
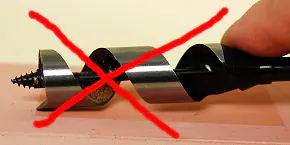
How to sharpen auger bits?
With a drill vise and a sharp auger bit, you have better control over the result in many tasks and you are more precise. Even many who know this do not resort to this working method because they do not know how to sharpen these bits. How often are old, although dull but still good auger bits thrown away because there is no way to find out how and with what they can be sharpened. However, with a single file and relatively easily, these bits can be made usable again.
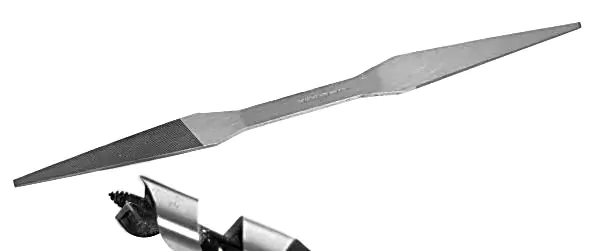
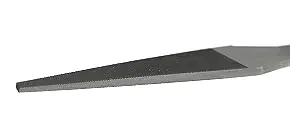
This special file for auger bits (Auger Bit File) is a single-cut file and has arrow-shaped cutting surfaces on each side. On one side, both wide surfaces are provided with cuts and the edges are without cuts. On the other side, conversely, the two narrow edges are provided with cuts, while the wider surfaces are smooth and thus without cuts. This allows the desired surface to be processed precisely without damaging the adjacent edge.
Answer: Cracks can occur when the sharpening stone has been out of use for a long time or has been improperly handled. Dress the stone until the cracks are no longer visible. Small cracks are less deep. Therefore, you should take the mentioned action immediately when you discover cracks. The smoother the surface of the sharpening stone, the less the risk of cracks forming.

Here you can see the page with the grooves on the wide side. The narrow edges are without grooves.
On the opposite side, the narrow edges are notched, while the wide surfaces remain smooth. Generally, you use the wide side; for small drills or drills with a special geometry, you need the narrow side.

First, sharpen the main cutting edge. To do this, press the auger with one hand, with the tip into a piece of wood, and make only a few strokes over the bevel of the main cutting edge. Important: Make sure to maintain the existing sharpening angle. A secondary bevel is quite useful for plane irons, but here it is out of place! Only file the upper bevel, never the underside!
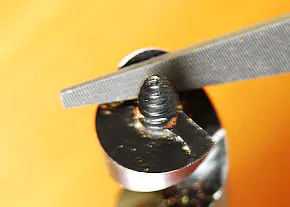
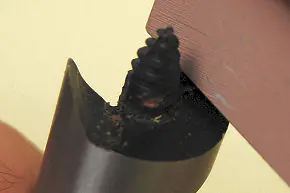
The pilot cutter guides the drill, ensures clean drilling edges, and allows the main cutting edge to remove wood chips cleanly. Therefore, this also needs to be sharpened regularly, and only from the inside! Here too, the rule applies: the less, the better, as the material available for removal is limited. The side to be sharpened is usually slightly convex in shape. Carefully follow this convex shape with the file and strive for uniform material removal across the entire surface. You will achieve this best if the drill is clamped vertically in a vice with the shank.
In principle, you are now finished.

However, it may happen that a burr is created on the outside due to sharpening on the inside of the pre-cutter. This burr can disappear simply by starting to drill. If it does not, rotate the drill bit around its own axis over a very fine sharpening stone (at least grain 3000, in the picture it is a Naniwa Super Stone grain 3000).

Important: never lift the drill during this process, the cutting geometry will be spoiled and the drill will become worthless. Be especially careful when the shape of the drill does not easily allow for horizontal work on the stone!
